| HOME | Forum | Newsletter | Resources | JOIN! |
|
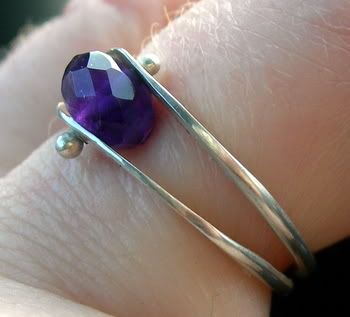
Dual Ball Tutorial
Supplies
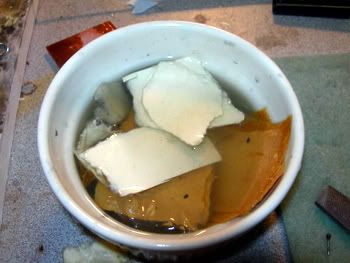
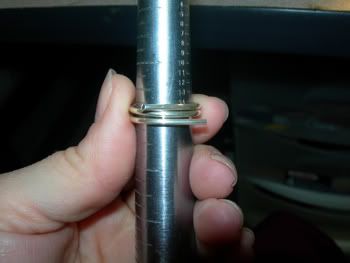
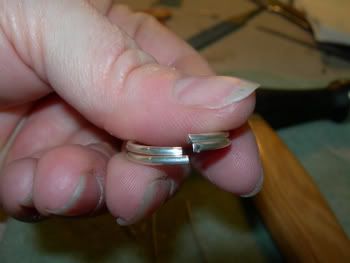
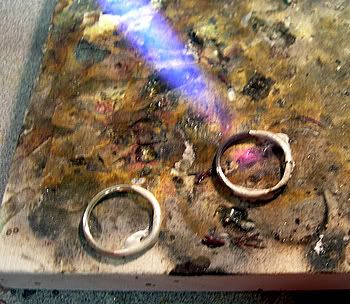
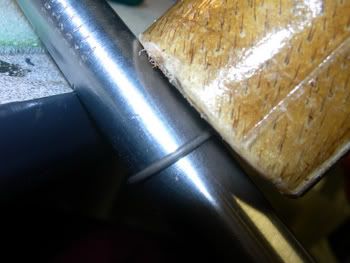
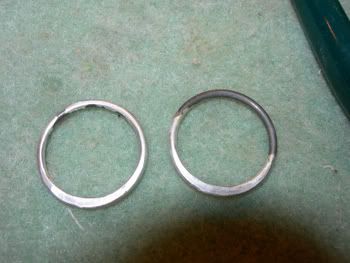
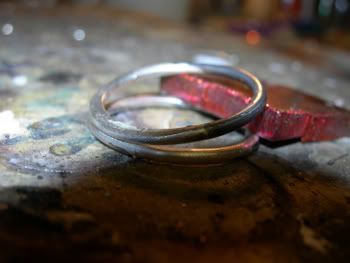
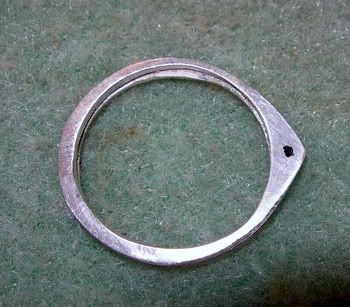
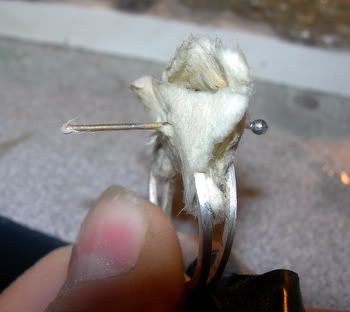
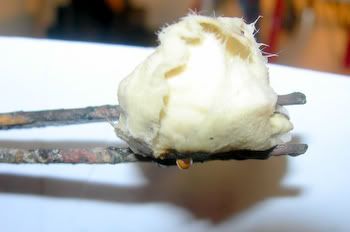
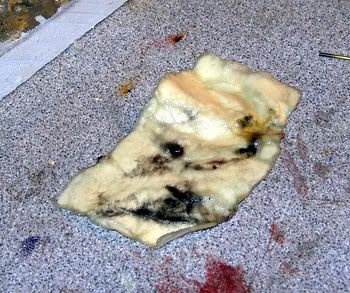
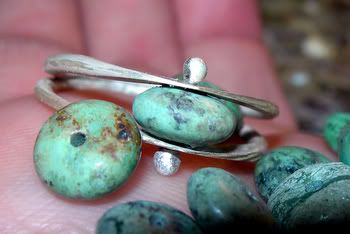
Begin by soaking small pieces of the manilla folder in water. ( I leave mine soaking for days, but you can soak them for as little as half an hour) Wrap the 12 ga wire around the ring mandrel about a half a size larger than you want the ring to be. (some of the size will be taken up by the bead) Cut into rings. Next, file ends smooth so you have a flush join to solder. (no pic) Flux and solder joins on each ring individually. Return rings to mandrel and use mallet to true up the ring into a circle. Forge one end of each ring on the bench block with a planishing or forging hammer. Then forge the other end of the rings into a sloping area which will eventually be drilled for insertion of wire to hold bead. (sorry no picture of the second side being done) Next prop rings open on the wider forged end so you can solder the more lightly planished ends together to form the base of the ring shank. Gently close the shank, mark center of top of ring, create a divet with hammer and nail. Lube your drillbit and drill hole(s) Using the 20 ga wire, flame a ball on one end. Next you need to wrap the bead in wet manilla folder paper, insert the packet into the opening of the ring, thread wire through. Cut the end of the wire so that about half an inch extends beyond the ring. Thread another pice of the folder onto the wire, then use pliers to bend the wire in on itself until its touching the shank. Take another piece of the folder and wrap it around the top of the bead. Suspend the entire packet into a third arm. (this photo is after I torched the second ball) The 'trick' is to use a HOT tiny flame. On my Smith Little torch its about a 5 inch flame, but the hot part is about an inch long. I turn the gas on very high and then crank up the oxygen to obtain a very hot very tight flame. *NOTE* The first two times I did this, I did NOT wrap the bead first and it worked fine. Wrapping the bead DOES take up some room so when you are done you may have a slightly looser join. When you remove the folder you will have a tiny bit of space. Very tiny. If you do it that way and don't like it, try just threading the wet paper on the outside and then wrap the outside of the bead. Tghe end result will be tighter. I have NOT had the paper catch on fire. At the very end it will smolder and singe a bit, but thats it. Here is a pick of the singed paper: Here is another finished ring. This one turquoise. If it can work on turquoise, then its probably fairly safe on the majority of stones. If you have any questions, please visit me on the forum! ~Janice |